> ## Documentation Index
> Fetch the complete documentation index at: https://novu-c5de82d9-docs-homepage-redesign.mintlify.site/llms.txt
> Use this file to discover all available pages before exploring further.
# Create a Workflow
> Create a workflow and define its identifier, metadata, and initial configuration.
A workflow defines how Novu delivers notifications for a specific event. It contains the steps, templates, and rules that control how messages are sent across channels.
You can create workflows in the Novu dashboard, using the [Novu API](/api-reference/workflows/create-a-workflow) or define them in code using the [Novu Framework](/framework/introduction#create-a-workflow). This guide focuses on creating workflows in the Novu dashboard.
Workflows can only be created and managed in the development environment. Once created, workflows can be synced to other environments. To learn more, refer to [Environments](/platform/developer/environments#publishable-assets).
## Create a workflow
You can create a Novu workflow in the following ways:
* **Create from scratch**: Build a custom workflow tailored to your exact needs.
* **Create from template**: Start with pre-built workflows for common use cases.
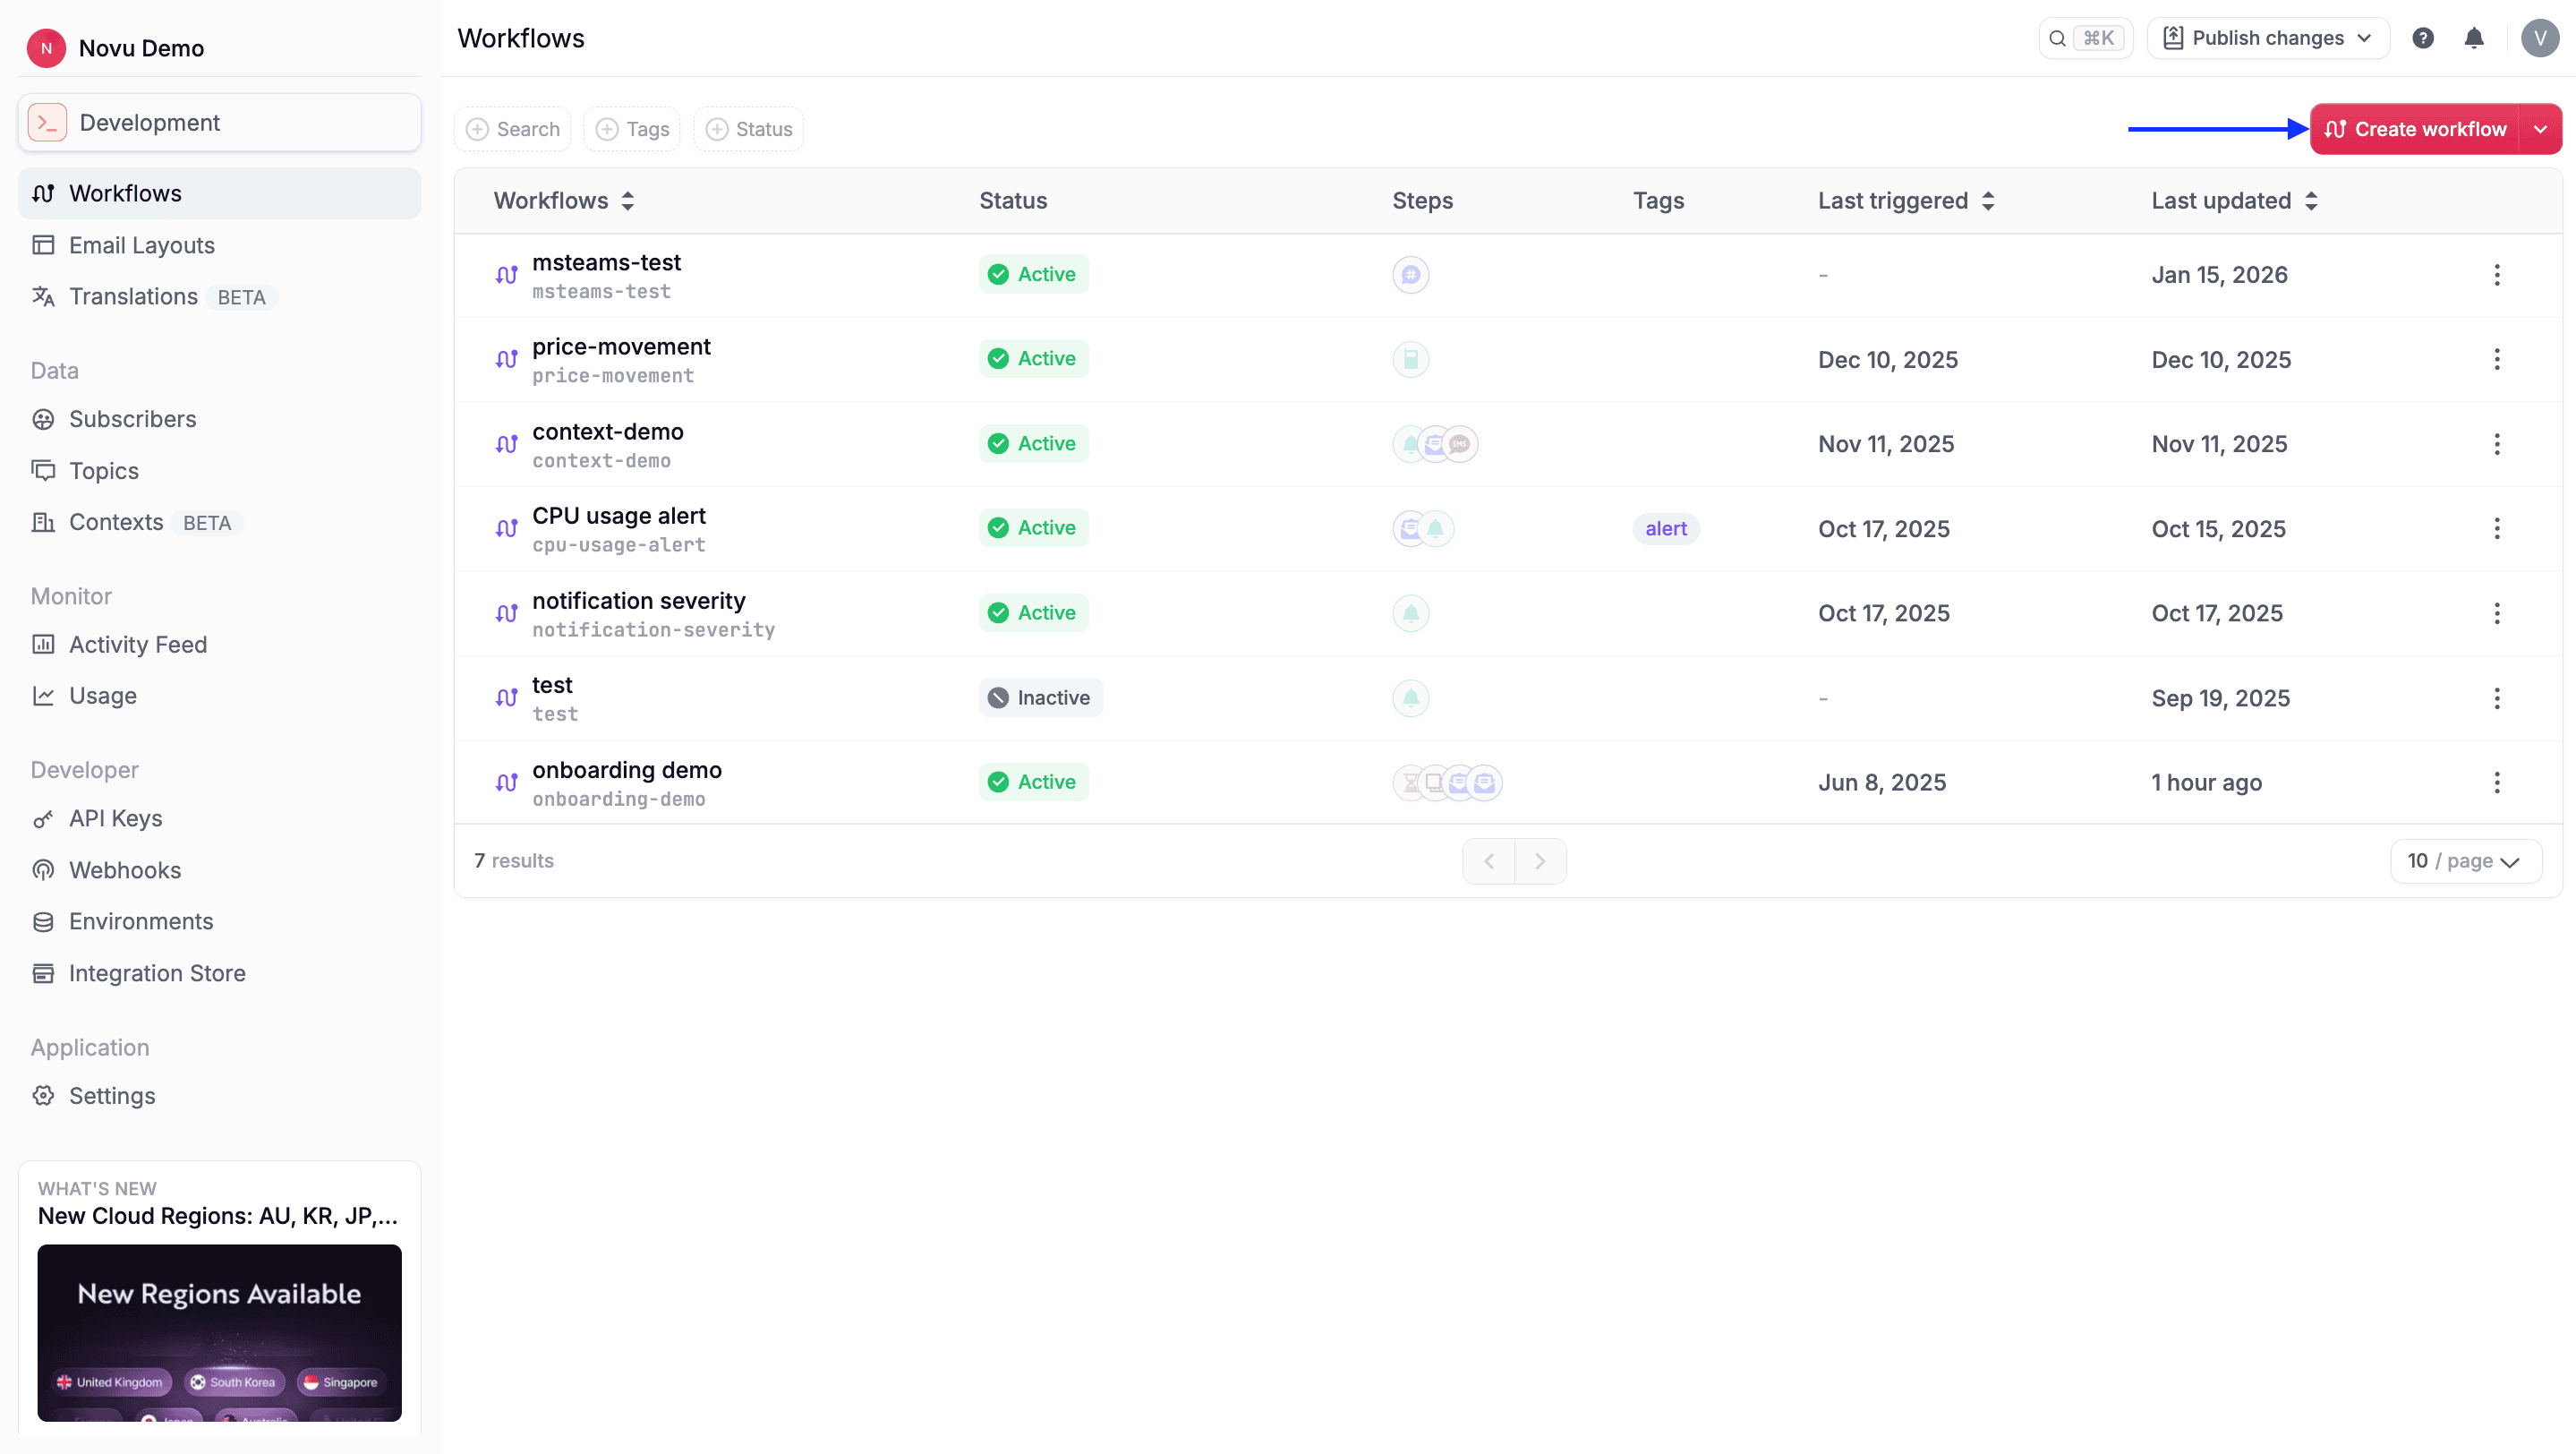
Go to the [Novu Dashboard](https://dashboard.novu.co).
Navigate to **Workflows**.
Click **Create workflow**.\\
 Fill in the [workflow details](#workflow-details):
* **Name** (Required): The display name shown in the dashboard. You can change this later in the workflow editor.
* **Identifier** (Required): The `workflowId` is immutable. It must be in a valid slug format (letters, numbers, hyphens, dots and underscores only) and must be unique within one environment.
The `workflowId` is required when triggering a workflow and when using [trigger overrides](/platform/integrations/trigger-overrides). It is also used to conditionally display notifications in the [``](/platform/inbox).
* **Tags** (Optional): Organize and categorize workflows. Tags can be added later in the workflow editor.
To learn more about Tags, refer to [workflow tags](/platform/workflow/configure-workflow#tags).
* **Description** (Optional): Document the workflow’s purpose and behavior for your team. Description can be added later in the workflow editor.
Fill in the [workflow details](#workflow-details):
* **Name** (Required): The display name shown in the dashboard. You can change this later in the workflow editor.
* **Identifier** (Required): The `workflowId` is immutable. It must be in a valid slug format (letters, numbers, hyphens, dots and underscores only) and must be unique within one environment.
The `workflowId` is required when triggering a workflow and when using [trigger overrides](/platform/integrations/trigger-overrides). It is also used to conditionally display notifications in the [``](/platform/inbox).
* **Tags** (Optional): Organize and categorize workflows. Tags can be added later in the workflow editor.
To learn more about Tags, refer to [workflow tags](/platform/workflow/configure-workflow#tags).
* **Description** (Optional): Document the workflow’s purpose and behavior for your team. Description can be added later in the workflow editor.
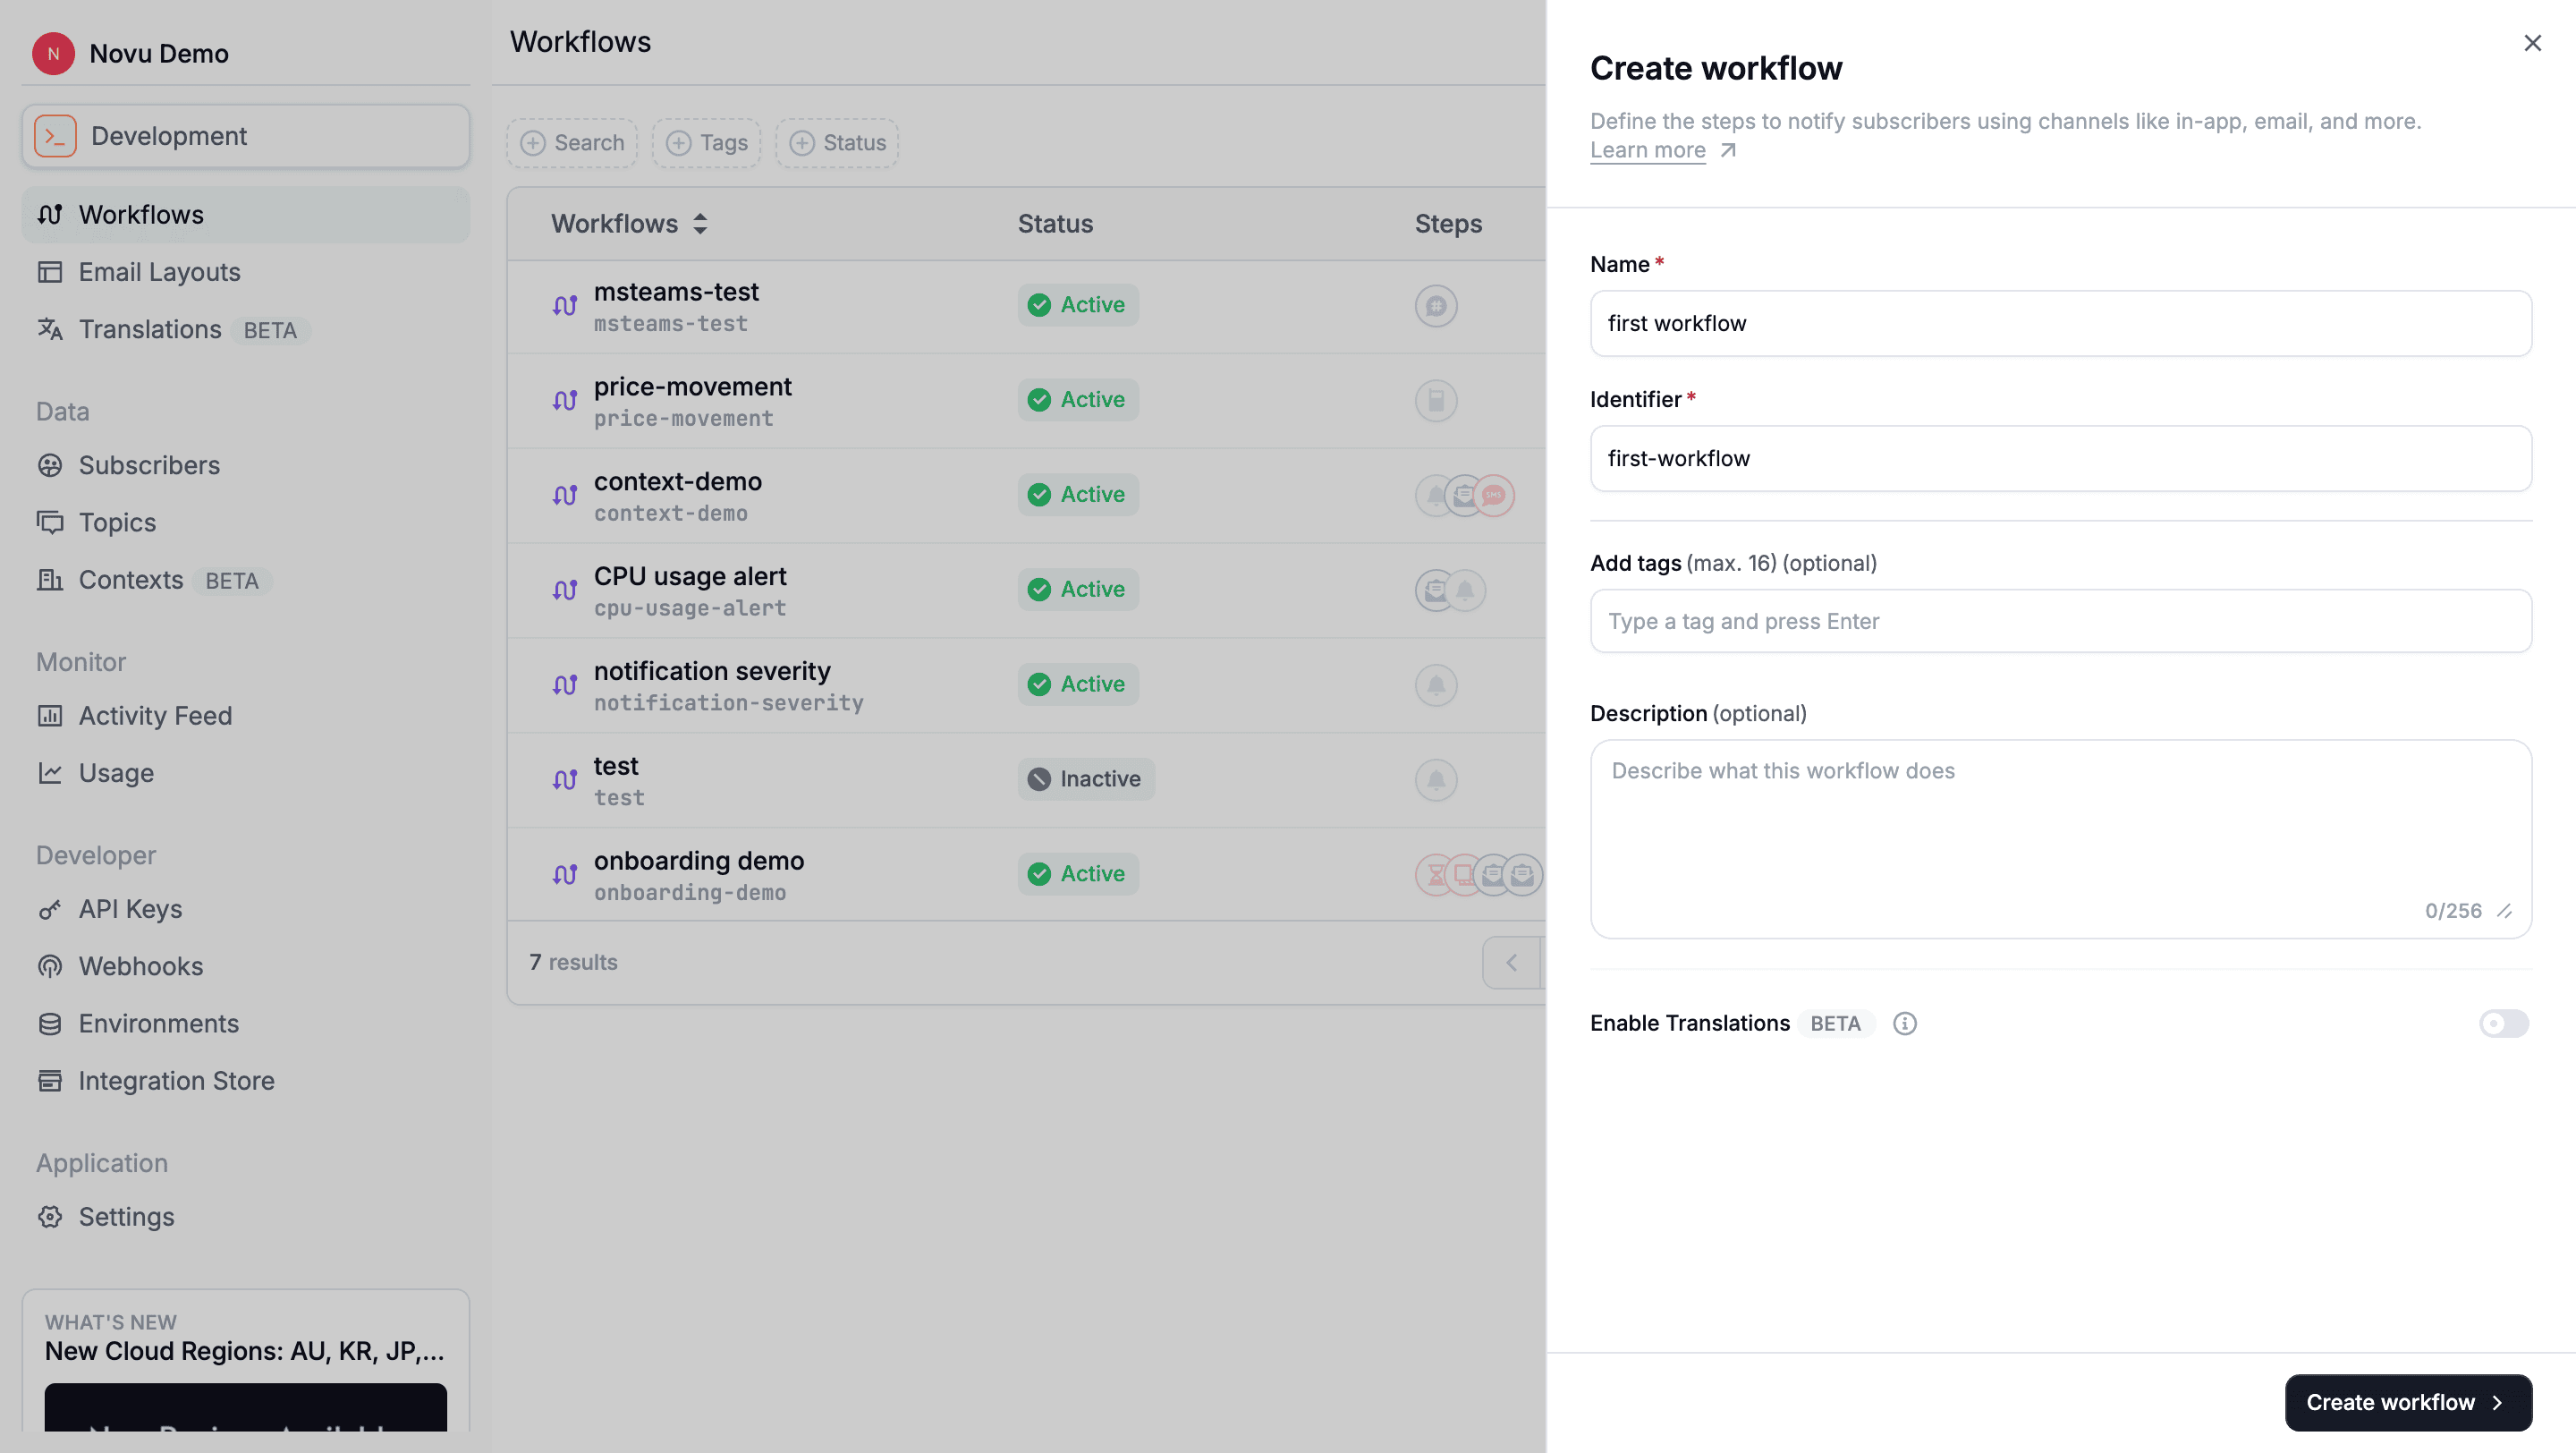 **Enable translations** (Optional): Support multiple locales for this workflow. This can be enabled after workflow creation in the workflow editor.
To learn more about translations, refer to [Translations](/platform/workflow/advanced-features/translations).
Click **Create workflow**.
After creating the workflow, you’re redirected to the Workflow Editor, where you can configure the workflow and add steps.
Templates are pre-built workflows for common notification scenarios. They include pre-configured steps, sample content, and pre-filled workflow details that you can customize.
To create a workflow from a template:
Go to the [Novu Dashboard](https://dashboard.novu.co).
Navigate to **Workflows**.
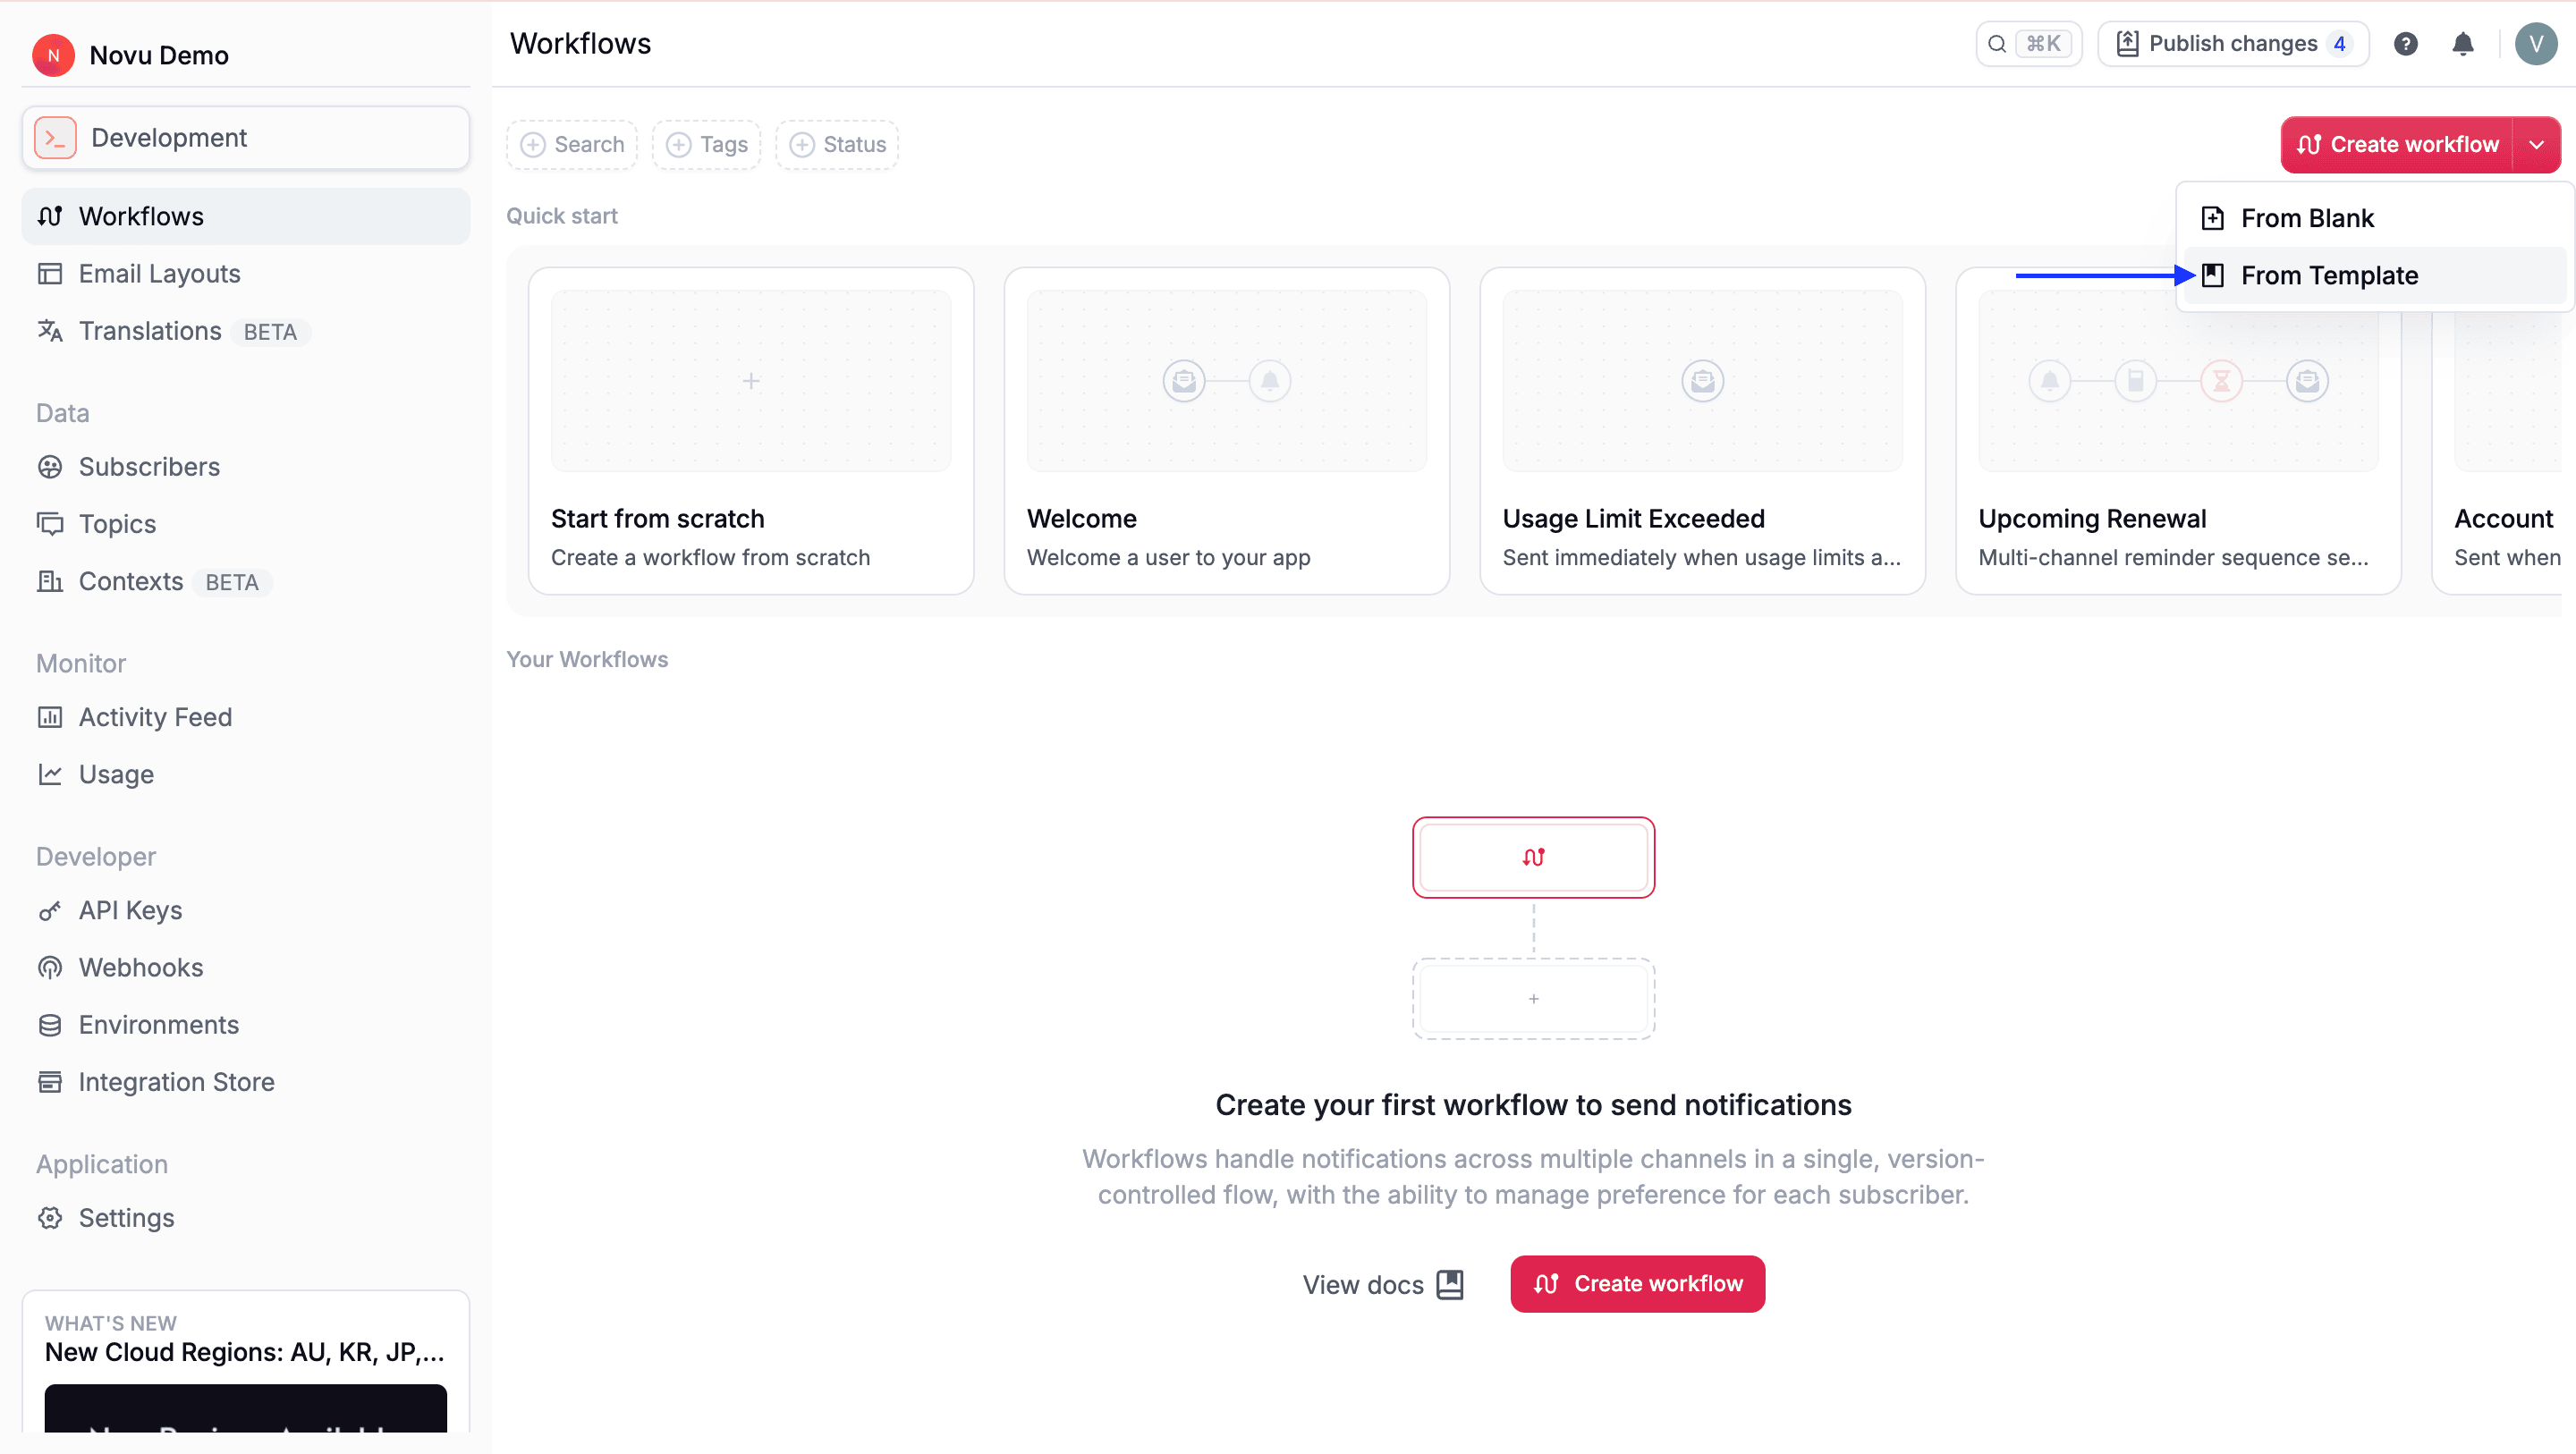
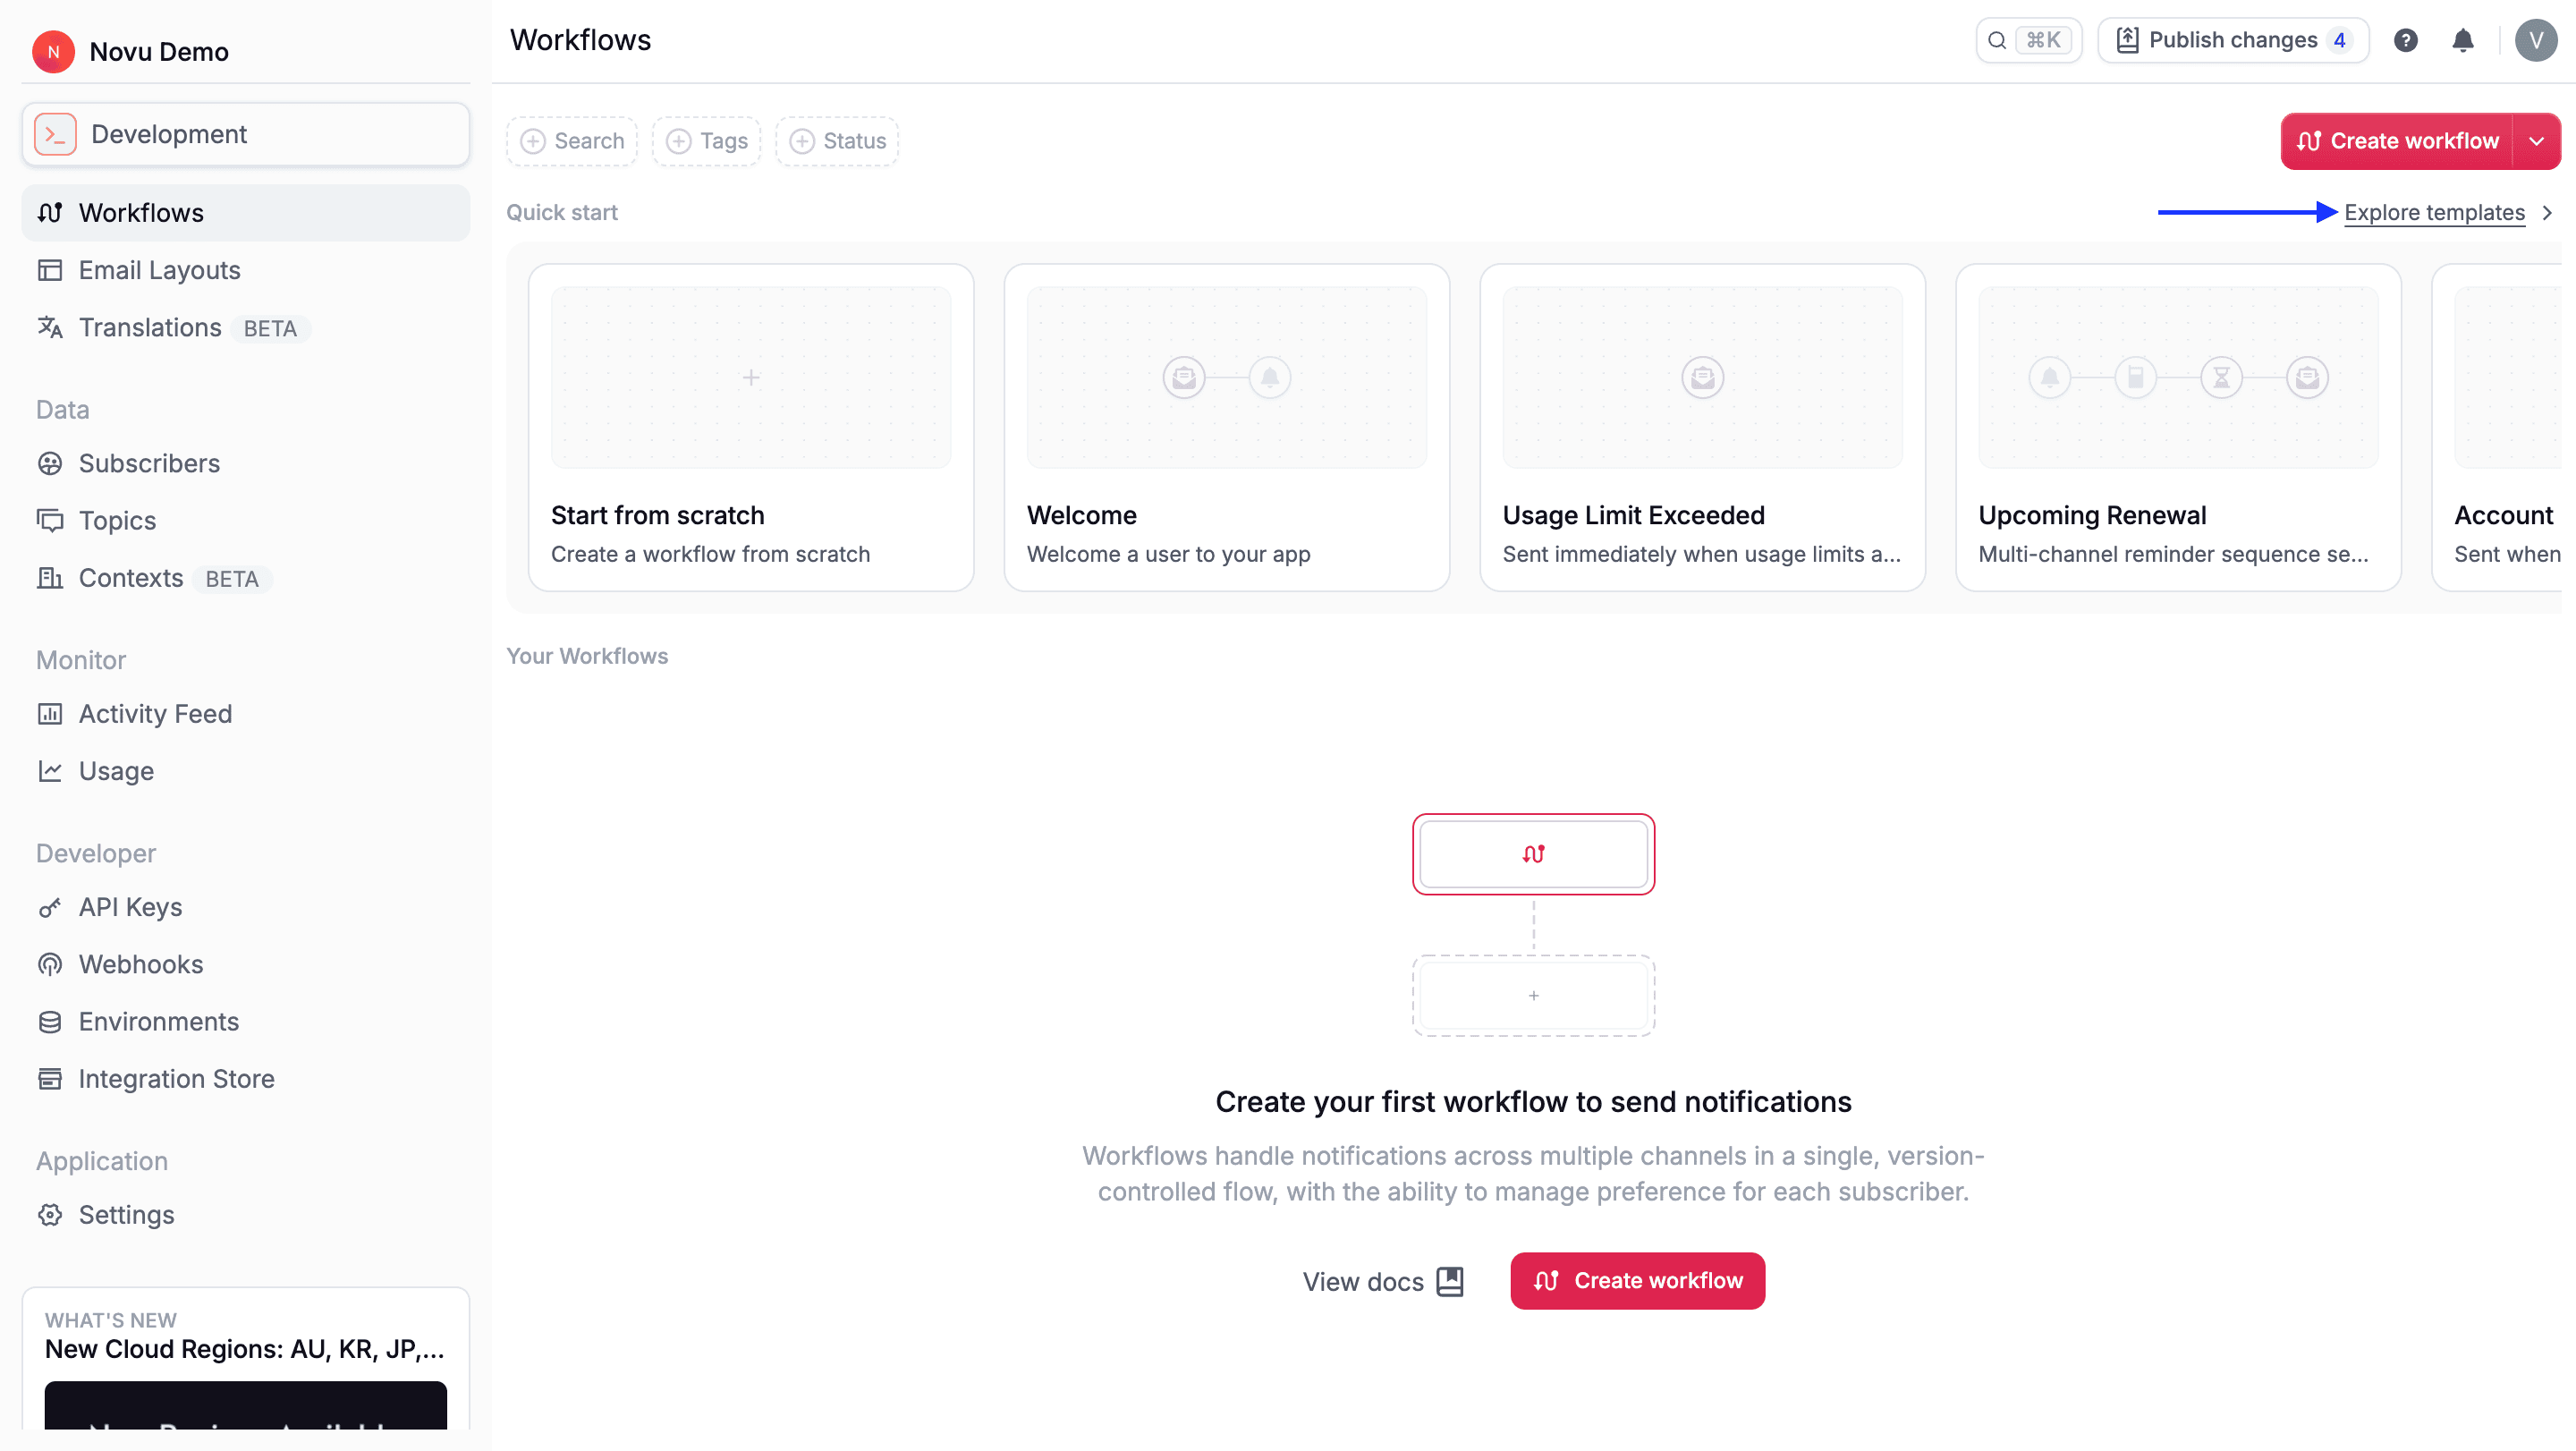
From the **Workflows** page, you can access templates in two ways:
* Click the icon on the **Create workflow** button and select **From template**.
**Enable translations** (Optional): Support multiple locales for this workflow. This can be enabled after workflow creation in the workflow editor.
To learn more about translations, refer to [Translations](/platform/workflow/advanced-features/translations).
Click **Create workflow**.
After creating the workflow, you’re redirected to the Workflow Editor, where you can configure the workflow and add steps.
Templates are pre-built workflows for common notification scenarios. They include pre-configured steps, sample content, and pre-filled workflow details that you can customize.
To create a workflow from a template:
Go to the [Novu Dashboard](https://dashboard.novu.co).
Navigate to **Workflows**.
From the **Workflows** page, you can access templates in two ways:
* Click the icon on the **Create workflow** button and select **From template**.
 * Click **Explore templates**.
 Select a template.
Click **Create workflow**.
## Manage workflows
Once created, you can manage workflows from the Workflows page:
### Update a workflow
After creating a workflow, you can modify its configuration at any time from the workflow editor. This allows you to evolve notification logic without creating a new workflow.
Click on any workflow to open the workflow editor, where you can:
* Update name and description (identifier cannot be changed)
* Add or remove the workflow tags.
* Change [workflow status](/platform/workflow/configure-workflow#workflow-status).
* Configure [channel preferences](/platform/workflow/configure-workflow#channel-preferences) and [payload schema](/platform/workflow/configure-workflow#payload-schema).
* Add, remove, or reorder [steps](/platform/workflow/add-and-configure-steps#add-a-step-to-a-workflow).
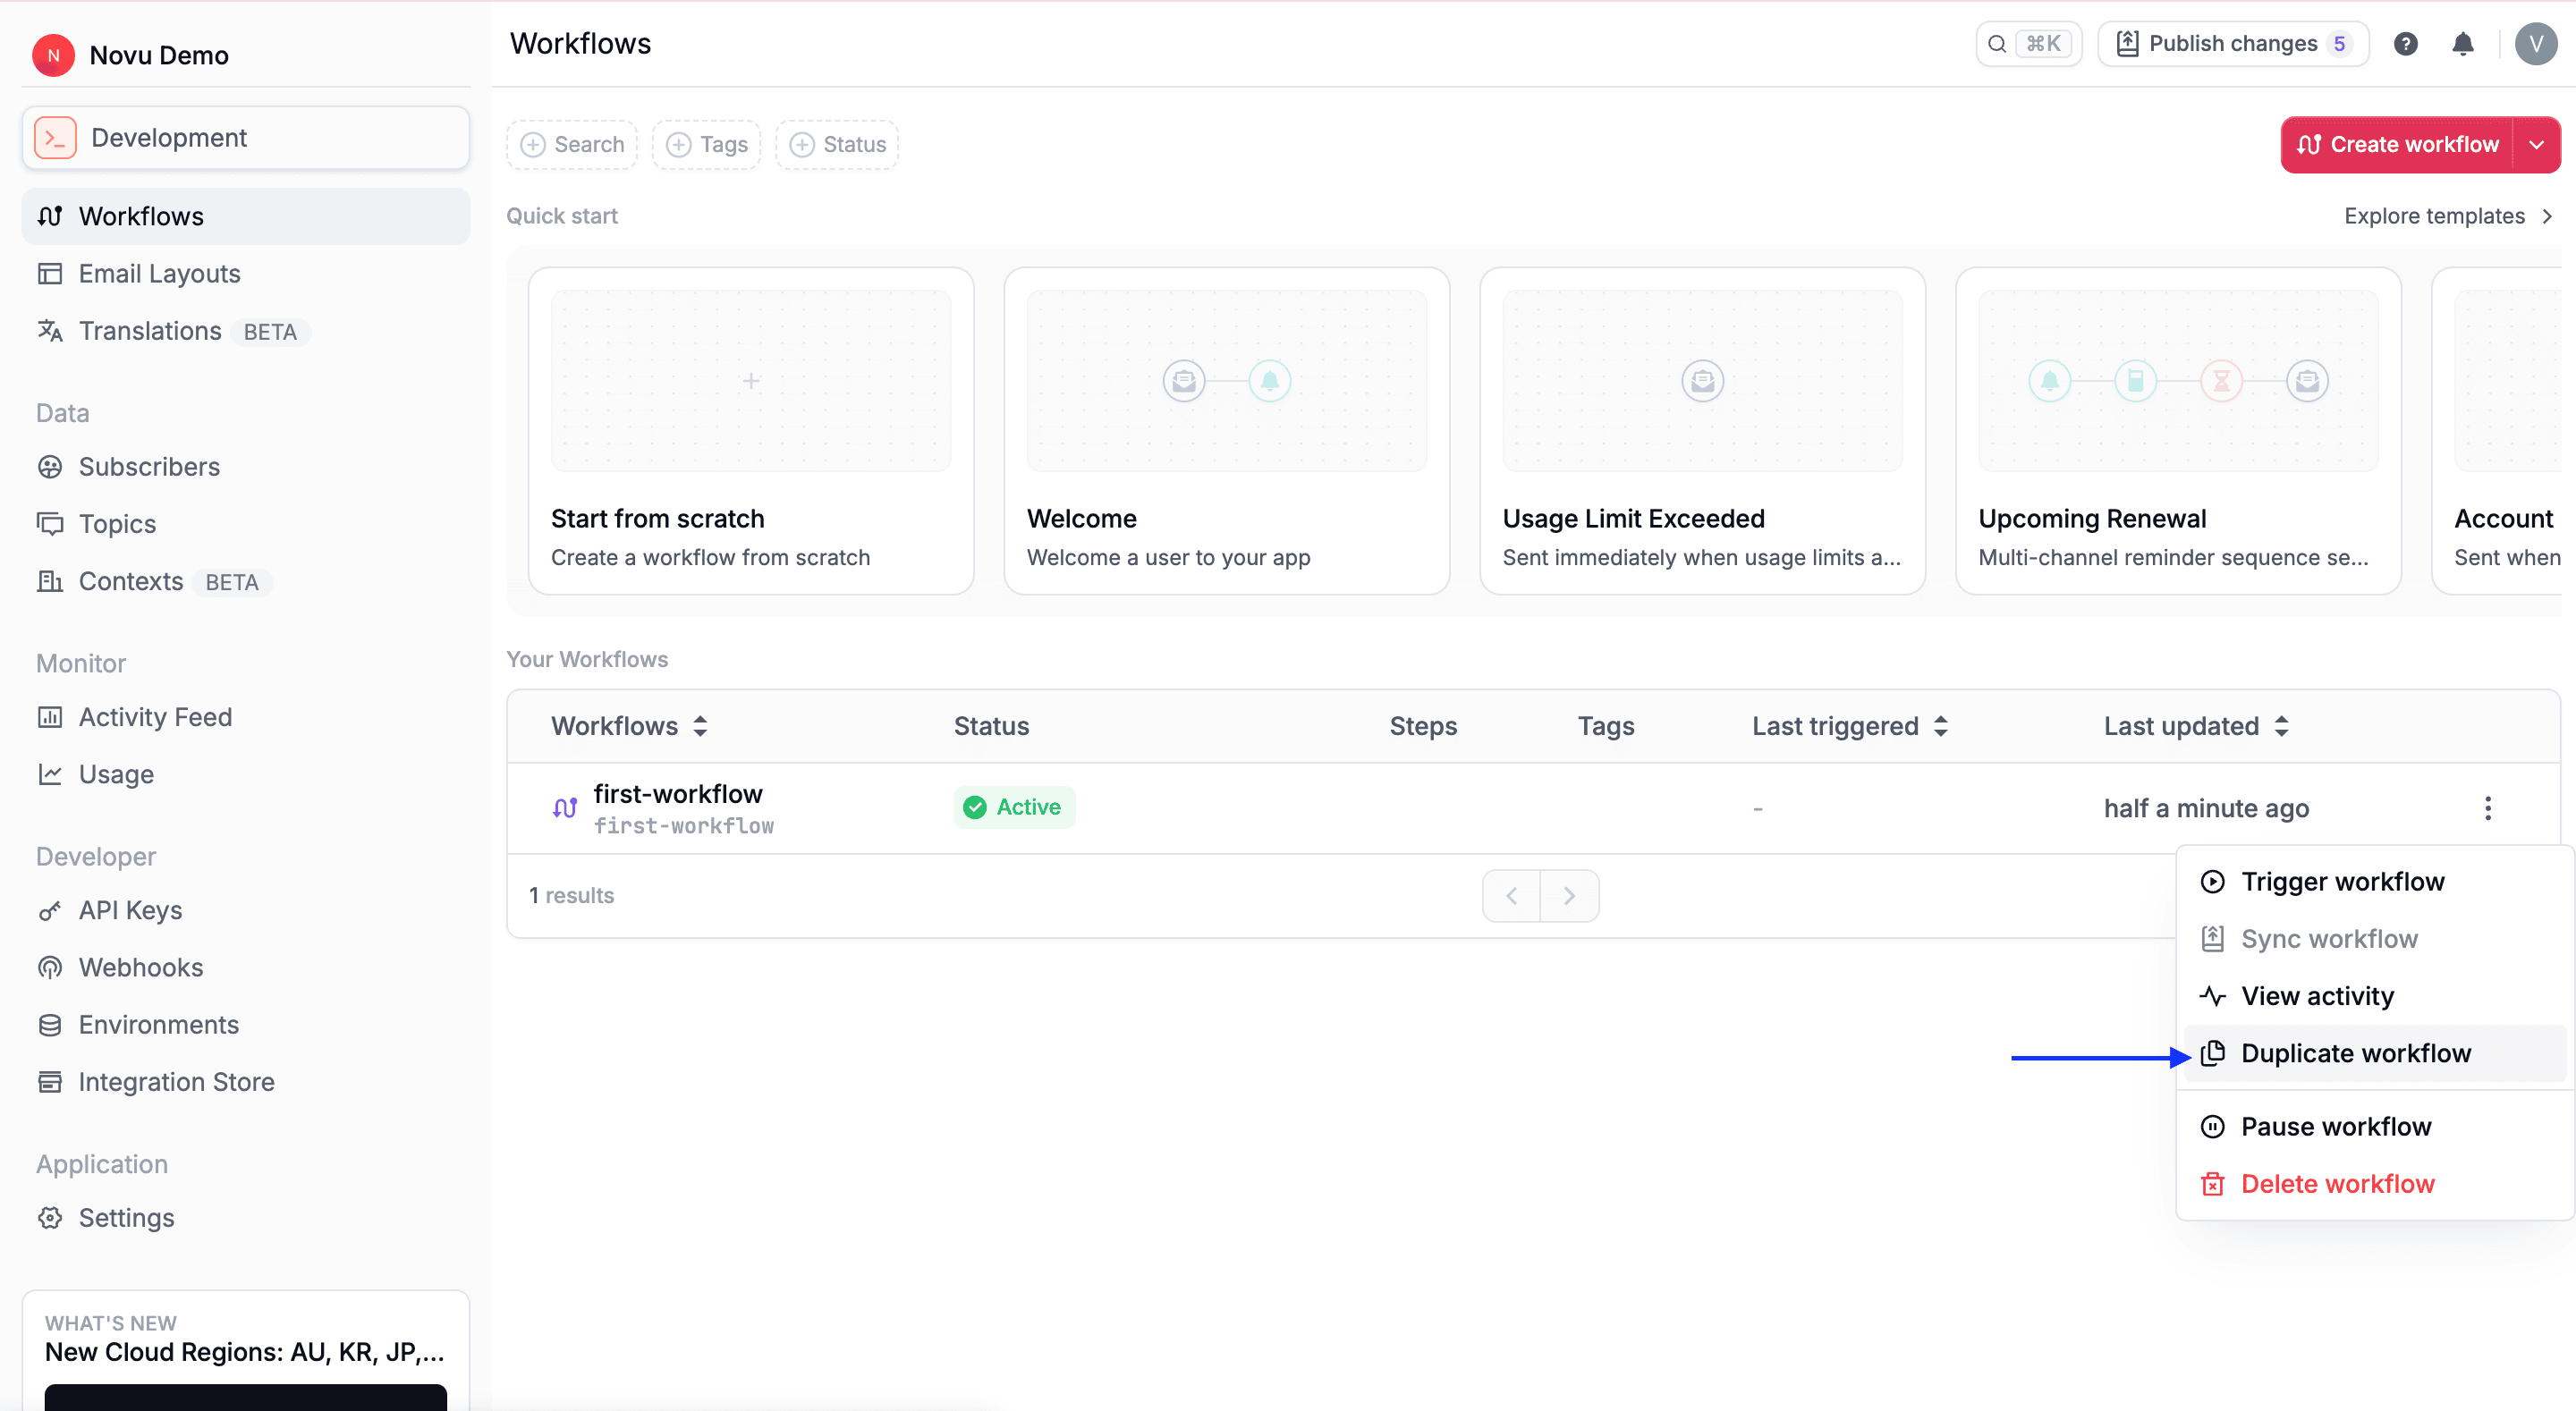
### Duplicate a workflow
Duplicating a workflow lets you reuse an existing configuration as a starting point for a new workflow. This is useful when workflows share similar logic but differ in trigger identifiers, content, or steps.
Find the workflow in **Workflows** page.
Click the three-dot menu (•••).
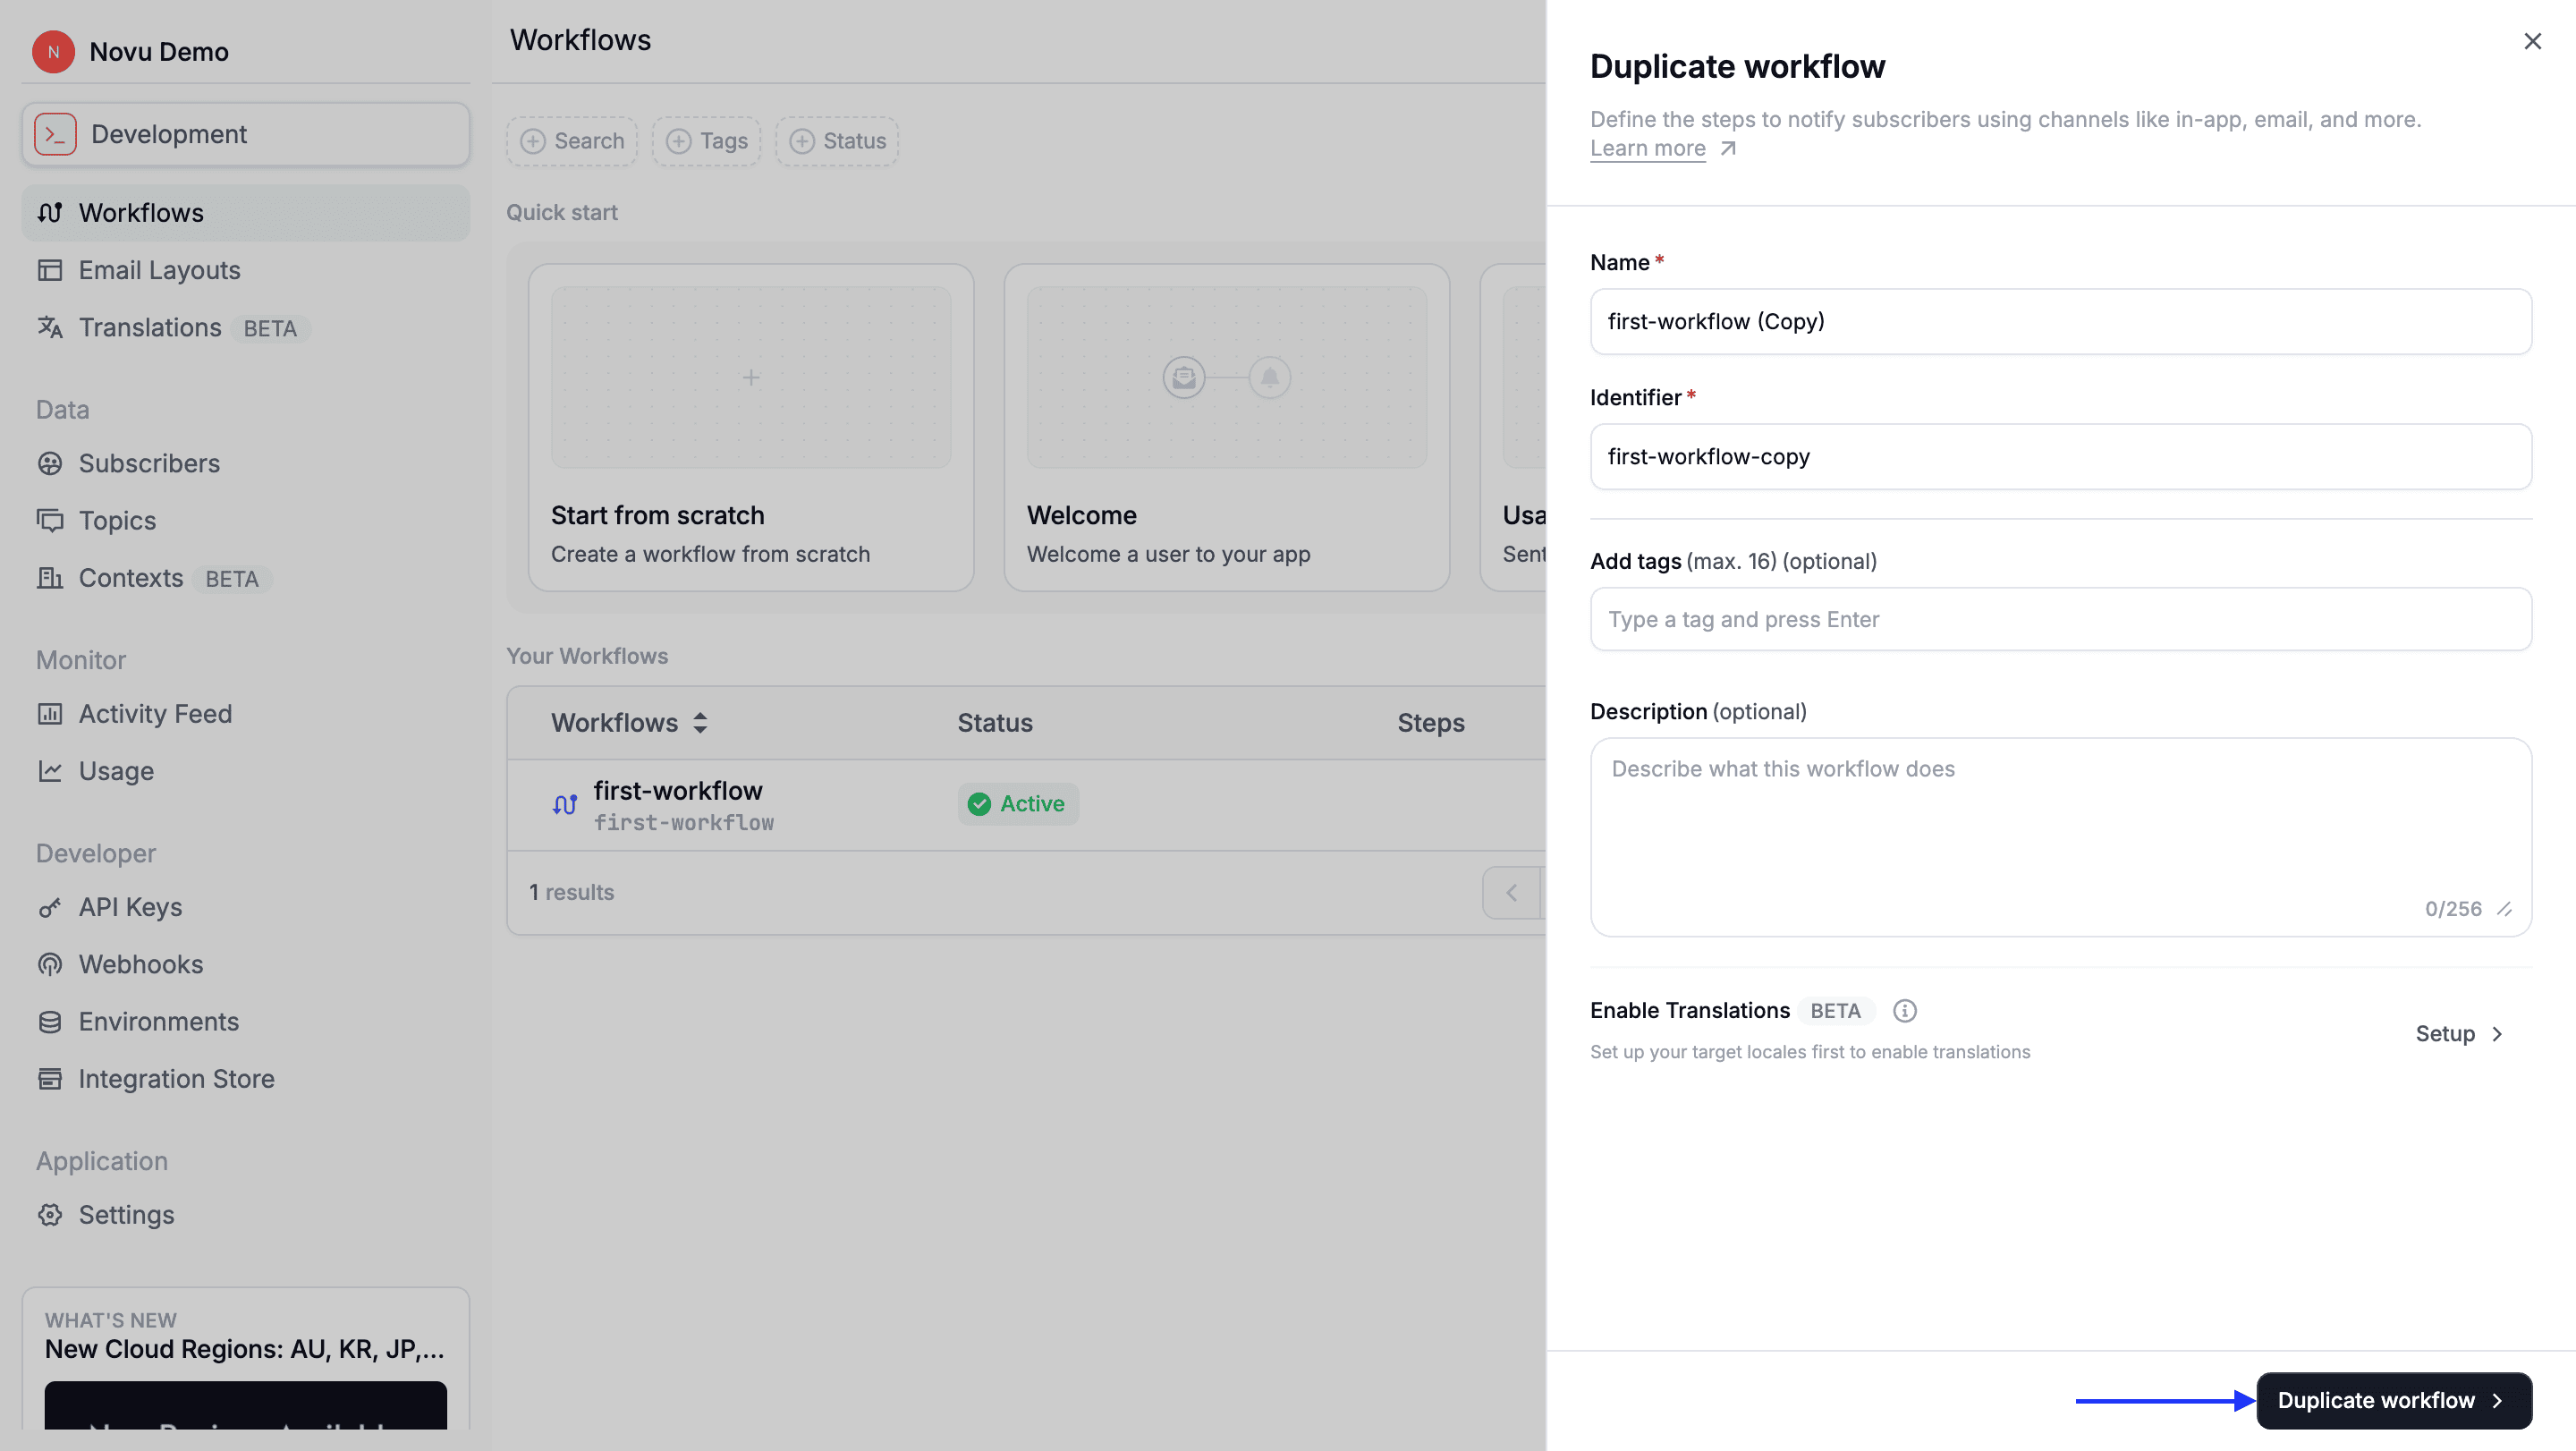
Select **Duplicate workflow**.
Provide a new name and identifier.
Select a template.
Click **Create workflow**.
## Manage workflows
Once created, you can manage workflows from the Workflows page:
### Update a workflow
After creating a workflow, you can modify its configuration at any time from the workflow editor. This allows you to evolve notification logic without creating a new workflow.
Click on any workflow to open the workflow editor, where you can:
* Update name and description (identifier cannot be changed)
* Add or remove the workflow tags.
* Change [workflow status](/platform/workflow/configure-workflow#workflow-status).
* Configure [channel preferences](/platform/workflow/configure-workflow#channel-preferences) and [payload schema](/platform/workflow/configure-workflow#payload-schema).
* Add, remove, or reorder [steps](/platform/workflow/add-and-configure-steps#add-a-step-to-a-workflow).
### Duplicate a workflow
Duplicating a workflow lets you reuse an existing configuration as a starting point for a new workflow. This is useful when workflows share similar logic but differ in trigger identifiers, content, or steps.
Find the workflow in **Workflows** page.
Click the three-dot menu (•••).
Select **Duplicate workflow**.
Provide a new name and identifier.
 Click **Duplicate Workflow**.
 ### Delete a workflow
Deleting a workflow is permanent and cannot be undone. Any existing triggers referencing the deleted workflow will fail with a `workflow not found` error. Execution history is preserved in the [Novu Activity Feed](/platform/workflow/monitor-and-debug-workflow).
Find the workflow in **Workflows** page.
Click the three-dot menu (•••).
Select **Delete**.
Confirm deletion.
### Delete a workflow
Deleting a workflow is permanent and cannot be undone. Any existing triggers referencing the deleted workflow will fail with a `workflow not found` error. Execution history is preserved in the [Novu Activity Feed](/platform/workflow/monitor-and-debug-workflow).
Find the workflow in **Workflows** page.
Click the three-dot menu (•••).
Select **Delete**.
Confirm deletion.